
Unity で簡単に2Dゲームを作ることができる Unity Playground アセットを触っていきます。
Auto Move
説明
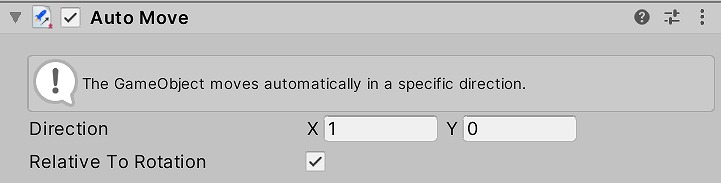
Auto Move スクリプトは、オブジェクトを自動で移動させます。
使ってみる
Project ウィンドウの Asteroid2 イメージを Hierarchy ウィンドウにドラッグ&ドロップします。
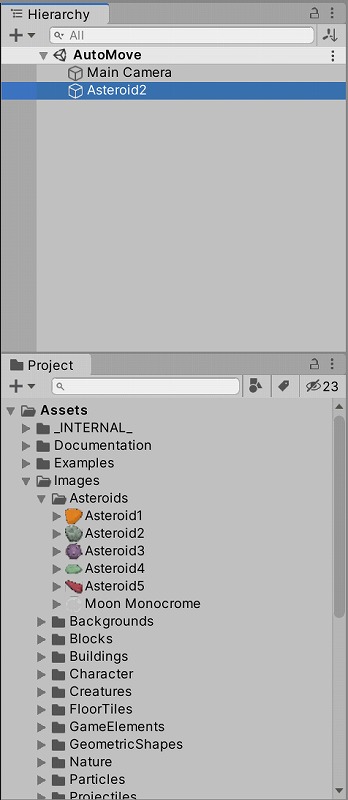
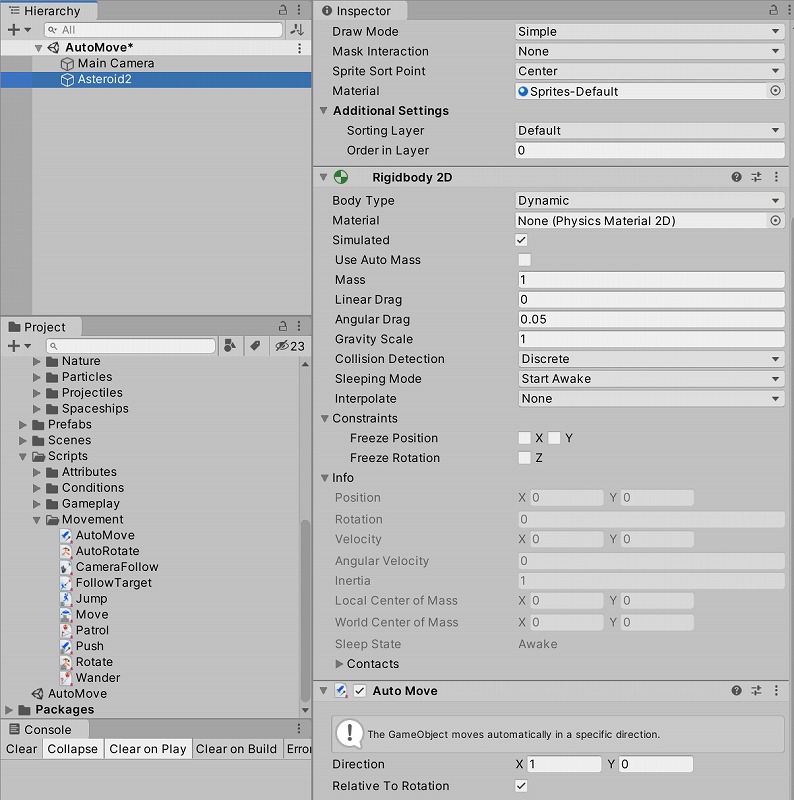
Hierarchy ウィンドウの Asteroid2 に Project ウィンドウの AutoMove スクリプトをドラッグ&ドロップします。
Play ボタンでゲームを開始すると、Asteroid2 は下に落ちていきます。
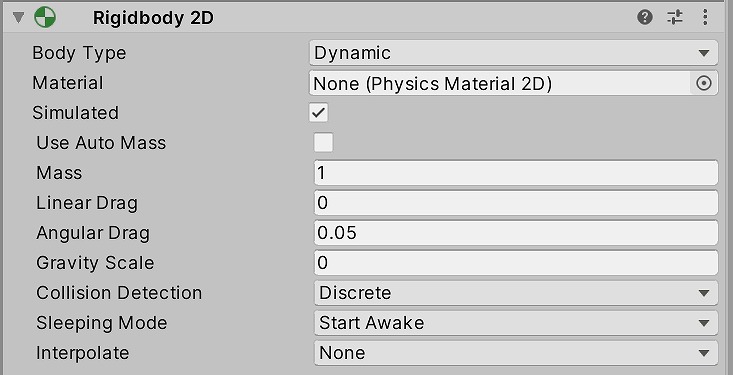
重力が働いているので、重力を無効にしましょう。
Rigidbody 2D の Gravity Scale を 0 にします。
もう一度 Play ボタンを押すと、今度は右にゆっくり移動します。
Auto Move の Direction にいろいろな値を設定して動作を確認してみましょう。
スクリプトを見る
AutoMove スクリプトをダブルクリックすると、ソースコードを見ることができます。
using UnityEngine;
using System.Collections;

[AddComponentMenu("Playground/Movement/Auto Move")]
[RequireComponent(typeof(Rigidbody2D))]
public class AutoMove : Physics2DObject
{
	// These are the forces that will push the object every frame
	// don't forget they can be negative too!
	public Vector2 direction = new Vector2(1f, 0f);


	//is the push relative or absolute to the world?
	public bool relativeToRotation = true;


	// FixedUpdate is called once per frame
	void FixedUpdate ()
	{
		if(relativeToRotation)
		{
			rigidbody2D.AddRelativeForce(direction * 2f);
		}
		else
		{
			rigidbody2D.AddForce(direction * 2f);
		}
	}


	//Draw an arrow to show the direction in which the object will move
	void OnDrawGizmosSelected()
	{
		if(this.enabled)
		{
			float extraAngle = (relativeToRotation) ? transform.rotation.eulerAngles.z : 0f;
			Utils.DrawMoveArrowGizmo(transform.position, direction, extraAngle);
		}
	}
}
↓こちらのメソッドを使用して、オブジェクトを移動させています。
rigidbody2D.AddRelativeForce(direction * 2f);
AddRelativeForce メソッドの使い方は、スクリプトリファレンスを参照しましょう。

Rigidbody-AddRelativeForce - Unity スクリプトリファレンス
ローカル座標に対して Rigidbody に相対的な力を加えます。
docs.unity3d.com
まとめ
AutoMove スクリプトは、単にオブジェクトを移動させるだけの機能を持っています。
簡単な機能を組み合わせることにより、複雑なことができるようになります。
1個1個使いこなせるようになっていきましょう。


コメント